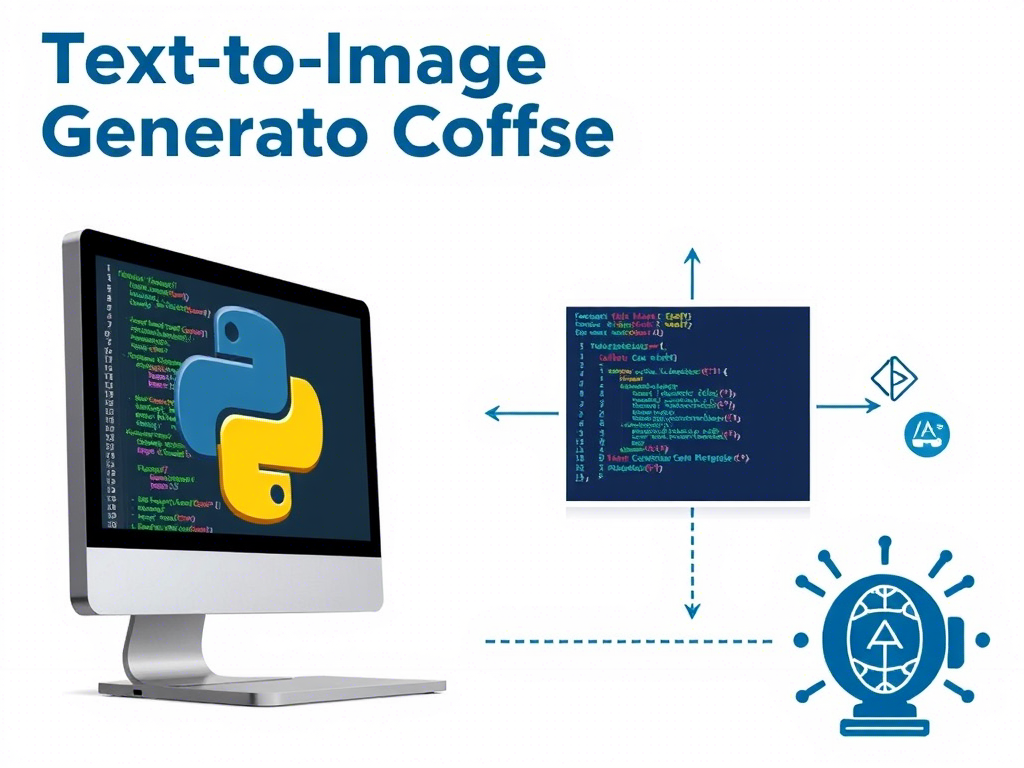
AI Image Generation Guide
Prerequisites
1. Google Account: You need a Google account to use Google Colab.
2. Google Colab: Access Google Colab.
3. GPU Enabled: Ensure your Colab runtime uses a GPU for faster processing.
- Go to
Runtime>Change runtime type> SelectGPUunder Hardware Accelerator.
Step 1: Set Up the Environment
!pip install diffusers transformers torch accelerateInstall the required libraries:
diffusers: Library for diffusion models.transformers: Library for natural language processing (to process prompts).torch: PyTorch, the deep learning framework.accelerate: Optimizes model inference.
Step 2: Load the Pre-trained Model
from diffusers import StableDiffusionPipeline
import torch

# Load the Stable Diffusion model
model_id = "runwayml/stable-diffusion-v1-5"
pipe = StableDiffusionPipeline.from_pretrained(model_id, torch_dtype=torch.float16)
pipe = pipe.to("cuda")
Load a pre-trained Latent Diffusion Model (e.g., Stable Diffusion) from Hugging Face’s diffusers library.
model_id: The specific model version (you can use other models likestabilityai/stable-diffusion-2-1).torch.float16: Uses half-precision for faster inference on GPUs..to("cuda"): Moves the model to the GPU.
Step 3: Generate an Image from a Prompt
# Define your prompt
prompt = "A futuristic cityscape at sunset with flying cars"

# Generate the image
image = pipe(prompt).images[0]

# Display the image
image.show()
Define a prompt and generate an image using the model.
- Replace the
promptwith your desired text. - The
pipe(prompt)generates the image, and.images[0]extracts the first image from the output.
Step 4: Save the Image
# Save the image to the Colab environment
image.save("generated_image.png")

# (Optional) Save to Google Drive
from google.colab import drive
drive.mount('/content/drive')

# Save to Google Drive
image.save("/content/drive/My Drive/generated_image.png")
Save the generated image to your Google Drive or local machine.
- Mount Google Drive using
drive.mount('/content/drive')if you want to save the image there.
Step 5: Customize the Output (Optional)
image = pipe(prompt, num_inference_steps=100, guidance_scale=10.0).images[0]
image.show()
Customize the image generation process by adjusting parameters like:
num_inference_steps: Number of denoising steps (default: 50).guidance_scale: Controls how closely the image follows the prompt (default: 7.5).
Step 6: Full Code
# Step 1: Install libraries
!pip install diffusers transformers torch accelerate

# Step 2: Load the model
from diffusers import StableDiffusionPipeline
import torch

model_id = "runwayml/stable-diffusion-v1-5"
pipe = StableDiffusionPipeline.from_pretrained(model_id, torch_dtype=torch.float16)
pipe = pipe.to("cuda")

# Step 3: Generate an image
prompt = "A futuristic cityscape at sunset with flying cars"
image = pipe(prompt).images[0]

# Step 4: Display and save the image
image.show()
image.save("generated_image.png")

# (Optional) Save to Google Drive
from google.colab import drive
drive.mount('/content/drive')
image.save("/content/drive/My Drive/generated_image.png")
Here’s the complete code for easy copy-pasting.
Notes
1. GPU Usage: Free Colab GPUs have limited resources. If you hit memory limits, reduce the image resolution or use a smaller model.
2. Hugging Face Token: Some models may require a Hugging Face token for access. Sign up at Hugging Face and use:
from huggingface_hub import login
login("YOUR_HUGGINGFACE_TOKEN")
3. Advanced Models: Explore other models like stabilityai/stable-diffusion-2-1 or fine-tuned models on Hugging Face.