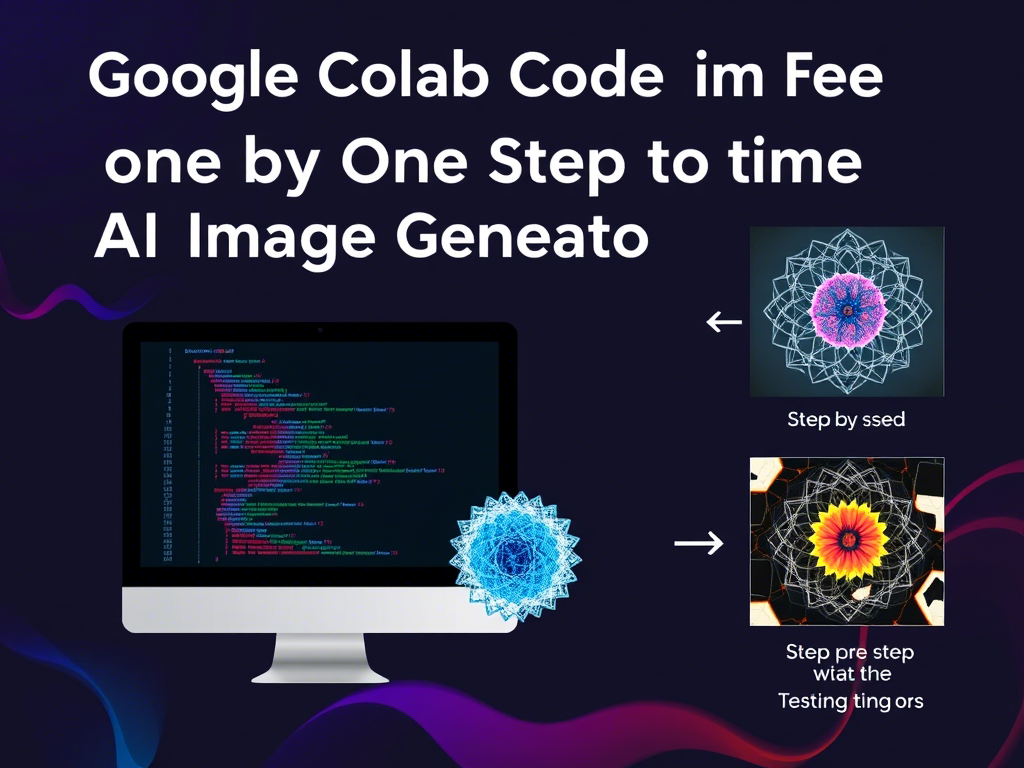
Introduction
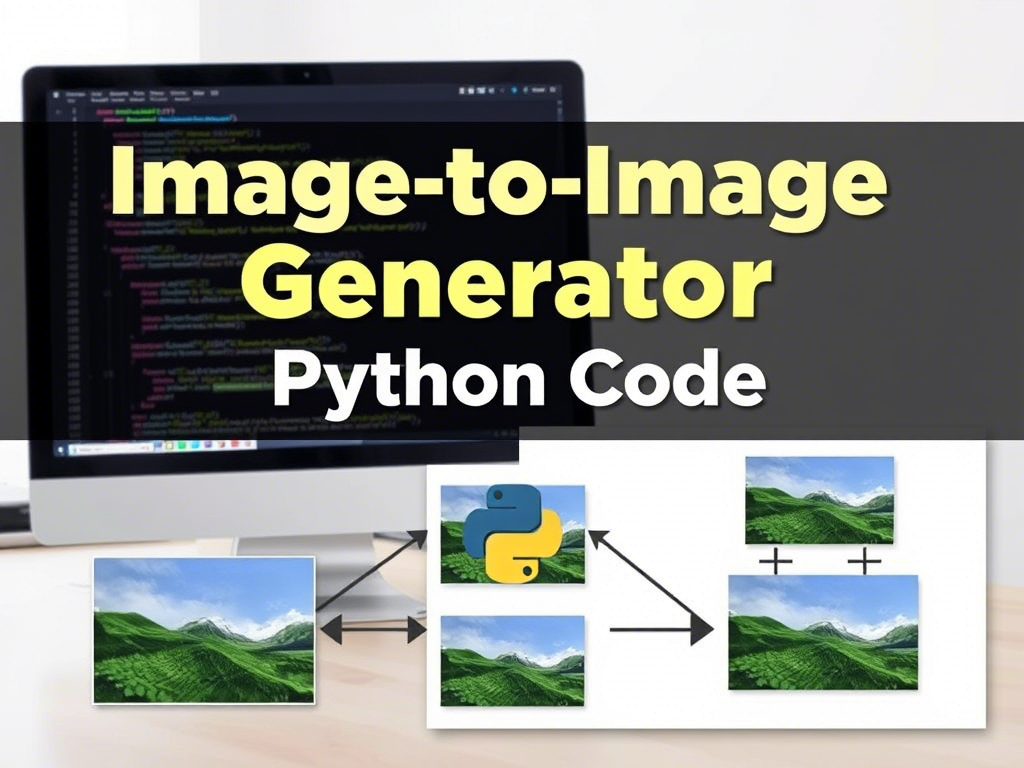
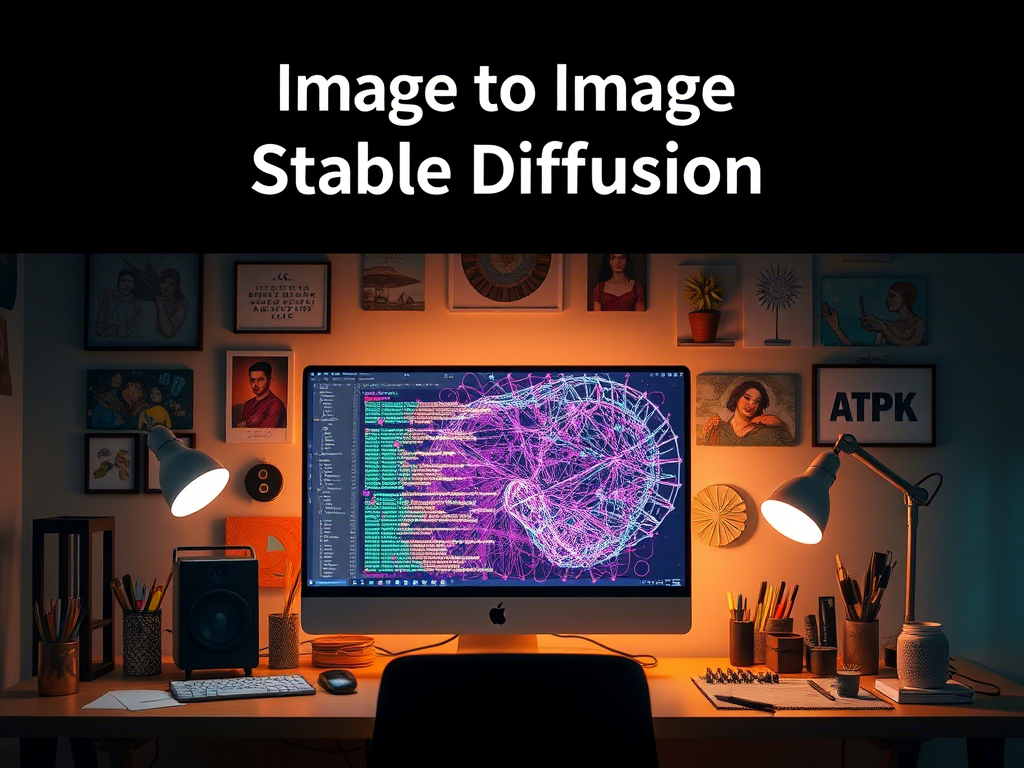
Stable Diffusion is a powerful AI model that can generate high-quality images from text prompts or modify existing images based on a prompt. The image-to-image feature allows you to take an input image and transform it into a new image while preserving certain aspects of the original. This guide will walk you through setting up and running an image-to-image AI generator using Stable Diffusion in Google Colab.
Prerequisites
Before we begin, ensure you have the following:
- Google Account: You need a Google account to access Google Colab.
- Google Colab: A free cloud-based Jupyter notebook environment provided by Google.
- Basic Python Knowledge: Familiarity with Python will help you understand and modify the code.
- Stable Diffusion Model: We will use the Hugging Face Diffusers library, which provides pre-trained Stable Diffusion models.
Step-by-Step Guide
Step 1: Open Google Colab
1. Go to Google Colab.
2. Click on “New Notebook” to create a new Colab notebook.
Step 2: Install Required Libraries
In the first cell of your Colab notebook, install the necessary libraries:
!pip install diffusers transformers accelerate torch torchvision
diffusers: Library for diffusion models like Stable Diffusion.
transformers: Library for natural language processing models.
accelerate: Library for optimizing model inference.
torch: PyTorch, the deep learning framework.
torchvision: Library for image processing in PyTorch.
Step 3: Import Libraries
In the next cell, import the required libraries:
import torch
from diffusers import StableDiffusionImg2ImgPipeline
from PIL import Image
import requests
from io import BytesIO
Step 4: Load the Pre-trained Stable Diffusion Model
Load the pre-trained Stable Diffusion model for image-to-image generation:
# Load the pipeline
pipe = StableDiffusionImg2ImgPipeline.from_pretrained(
    "runwayml/stable-diffusion-v1-5",
    torch_dtype=torch.float16,
).to("cuda")
runwayml/stable-diffusion-v1-5: This is the pre-trained model we are using.
torch_dtype=torch.float16: This reduces memory usage by using half-precision floating-point numbers.
.to(“cuda”): Moves the model to the GPU for faster computation.
Step 5: Load and Prepare the Input Image
Load an image that you want to transform. You can either upload an image to Colab or use an image from a URL:
# Load an image from a URL
url = "https://example.com/your-image.jpg"
response = requests.get(url)
init_image = Image.open(BytesIO(response.content)).convert("RGB")

# Resize the image to the desired dimensions
init_image = init_image.resize((512, 512))
Replace "https://example.com/your-image.jpg" with the URL of your image.
The image is resized to 512×512 pixels, which is the default size for Stable Diffusion.
Step 6: Define the Prompt and Generate the Image
Now, define the text prompt that will guide the image generation process:
prompt = "A fantasy landscape with a castle and a river"

# Generate the image
with torch.autocast("cuda"):
    images = pipe(prompt=prompt, init_image=init_image, strength=0.75, guidance_scale=7.5).images

# Display the generated image
images[0]
prompt: The text description of the image you want to generate.
init_image: The input image that will be transformed.
strength: Controls how much the input image is altered. A value of 0.75 means the output will be 75% guided by the prompt and 25% by the input image.
guidance_scale: Controls how closely the model follows the prompt. Higher values make the model adhere more strictly to the prompt.
Step 7: Save the Generated Image
If you want to save the generated image, you can do so with the following code:
images[0].save("generated_image.png")This will save the image as generated_image.png in your Colab environment.
Step 8: Download the Image
To download the image to your local machine, use the following code:
from google.colab import files
files.download("generated_image.png")
Conclusion
You have successfully set up and run an image-to-image AI generator using Stable Diffusion in Google Colab. This guide covered the entire process, from installing the necessary libraries to generating and saving the final image. You can experiment with different prompts, input images, and parameters to create unique and interesting images.
Full Code
Here is the complete code for easy reference:
# Step 2: Install Required Libraries
!pip install diffusers transformers accelerate torch torchvision

# Step 3: Import Libraries
import torch
from diffusers import StableDiffusionImg2ImgPipeline
from PIL import Image
import requests
from io import BytesIO

# Step 4: Load the Pre-trained Stable Diffusion Model
pipe = StableDiffusionImg2ImgPipeline.from_pretrained(
    "runwayml/stable-diffusion-v1-5",
    torch_dtype=torch.float16,
).to("cuda")

# Step 5: Load and Prepare the Input Image
url = "https://example.com/your-image.jpg"
response = requests.get(url)
init_image = Image.open(BytesIO(response.content)).convert("RGB")
init_image = init_image.resize((512, 512))

# Step 6: Define the Prompt and Generate the Image
prompt = "A fantasy landscape with a castle and a river"
with torch.autocast("cuda"):
    images = pipe(prompt=prompt, init_image=init_image, strength=0.75, guidance_scale=7.5).images

# Display the generated image
images[0]

# Step 7: Save the Generated Image
images[0].save("generated_image.png")

# Step 8: Download the Image
from google.colab import files
files.download("generated_image.png")
Tips for Better Results
- Experiment with Prompts: Try different prompts to see how they affect the output.
- Adjust Strength: Modify the
strengthparameter to control how much the input image is altered. - Try Different Models: There are other Stable Diffusion models available on Hugging Face that you can experiment with.
- Use High-Quality Images: Higher resolution input images generally yield better results.
Enjoy creating stunning images with Stable Diffusion!