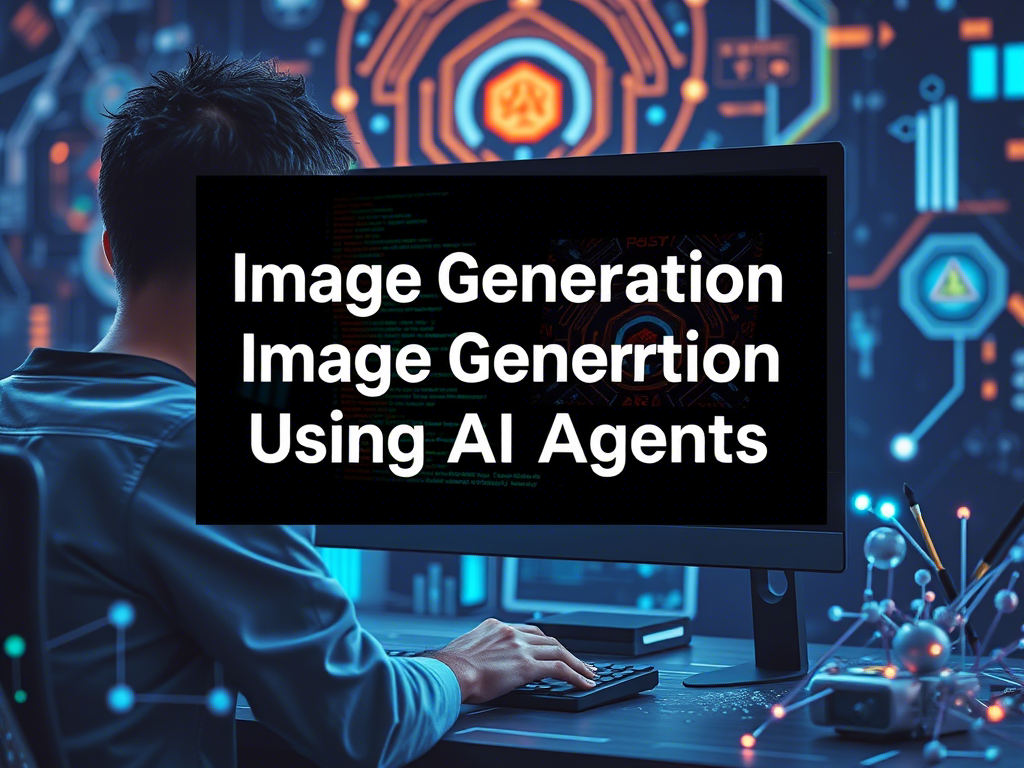
Image generation using AI agents is a fascinating area of deep learning that leverages generative models to create new images from scratch. One of the most popular approaches for image generation is using Generative Adversarial Networks (GANs) or Diffusion Models. In this guide, we will use a pre-trained model called Stable Diffusion to generate images using AI agents.
Prerequisites
Before we begin, ensure you have the following:
- Google Account: You need a Google account to use Google Colab.
- Basic Python Knowledge: Familiarity with Python programming.
- Understanding of Deep Learning: Basic knowledge of neural networks and deep learning concepts.
- Google Colab: A free cloud-based Jupyter notebook environment provided by Google.
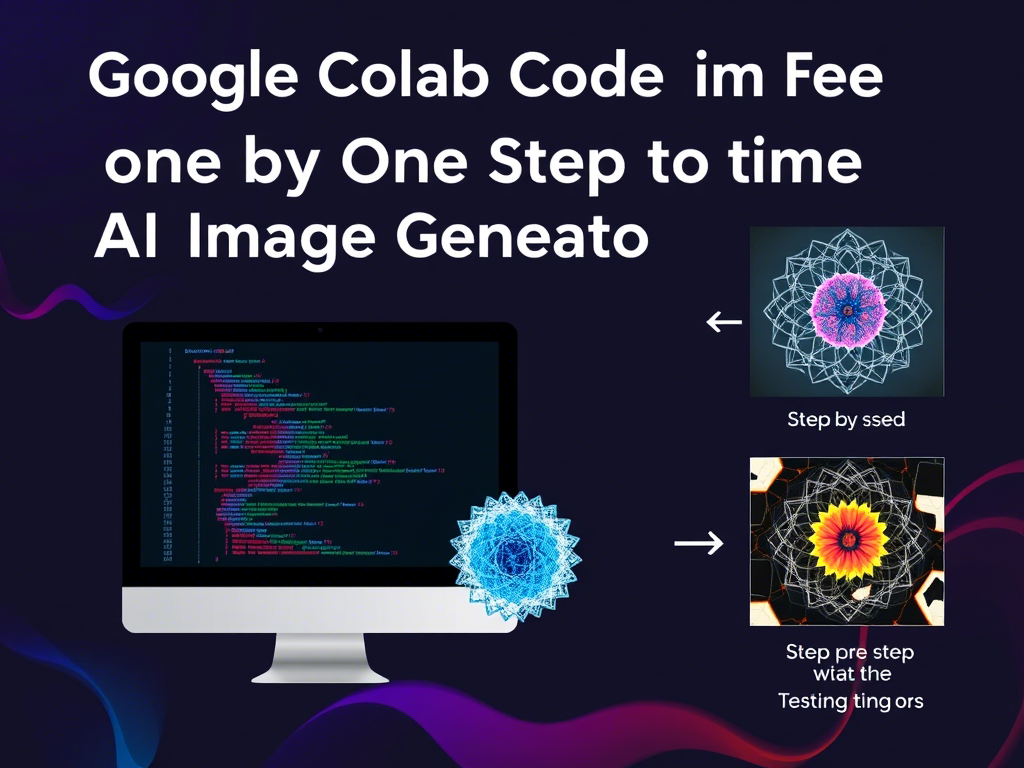
Step-by-Step Guide to Create Image Generation Using AI Agents
This guide will walk you through the process of generating images using AI agents with the Stable Diffusion model.
Step 1: Open Google Colab
Go to Google Colab and create a new notebook.
Step 2: Set Up the Environment
Install the required libraries and import them.
from diffusers import StableDiffusionPipeline
from PIL import Image
Step 3: Load the Pre-trained Stable Diffusion Model
Load the Stable Diffusion model and move it to the GPU.
pipe = StableDiffusionPipeline.from_pretrained(“runwayml/stable-diffusion-v1-5”)
# Move the model to GPU
pipe = pipe.to(“cuda”)
Step 4: Generate an Image
Define a prompt and generate the image.
# Generate the image
image = pipe(prompt).images[0]
# Display the image
image.show()
Step 5: Save the Generated Image
Save the image locally or to Google Drive.
image.save(“generated_image.png”)
# Mount Google Drive
from google.colab import drive
drive.mount(‘/content/drive’)
# Save to Google Drive
image.save(“/content/drive/My Drive/generated_image.png”)
Step 6: Experiment with Different Prompts
Try different prompts to generate various images.
image = pipe(prompt).images[0]
image.show()
Step 7: (Optional) Adjust Parameters
Adjust parameters like num_inference_steps or guidance_scale.
image.show()
Full Code Example
!pip install diffusers transformers accelerate torch
# Step 2: Import libraries
import torch
from diffusers import StableDiffusionPipeline
from PIL import Image
# Step 3: Load the pre-trained model
pipe = StableDiffusionPipeline.from_pretrained(“runwayml/stable-diffusion-v1-5”)
pipe = pipe.to(“cuda”)
# Step 4: Generate an image
prompt = “A futuristic cityscape with flying cars and neon lights”
image = pipe(prompt).images[0]
# Step 5: Display and save the image
image.show()
image.save(“generated_image.png”)
# Optional: Save to Google Drive
from google.colab import drive
drive.mount(‘/content/drive’)
image.save(“/content/drive/My Drive/generated_image.png”)
Note: Experiment with different prompts and parameters to create unique and creative images!
Conclusion
In this guide, we walked through the process of generating images using AI agents with the Stable Diffusion model. You learned how to set up the environment, load a pre-trained model, generate images from text prompts, and save the results. Experiment with different prompts and parameters to create unique and creative images!